
Smith-Morra Gambit: Rapid Initiative Against the Sicilian

Executive Briefing: The Smith-Morra Gambit
The Smith-Morra Gambit (1.e4 c5 2.d4 cxd4 3.c3) offers an uncompromising pawn sacrifice that detonates Black's theoretical Sicilian preparation on move three. By investing a single central pawn with 3...dxc3 4.Nxc3, White unlocks unobstructed central lines, commands the open c-file and d-file, and mobilizes attacking pieces at blistering velocity. Whether confronting Classical Scheveningen shells, turning declined variations into Maroczy space clamps, or deploying thematic knight sacrifices on d5, this comprehensive smith morra gambit chess guide delivers master-level tactical blueprints to overwhelm Sicilian defenders.
The Sicilian Defense stands as the most resilient and feared response to 1.e4 in competitive chess history. For generations, club players and grandmasters alike have spent countless hours memorizing branching labyrinths in the Najdorf, Dragon, and Classical variations, seeking counter-attacking sharpness against White's center. However, entering Black's deeply prepared theoretical battlefield often hands the initiative directly to the defender. The Smith-Morra Gambit radically alters this strategic landscape on move three. Rather than permitting Black to dictate the terms of engagement, White sacrifices a pawn to seize immediate central control, open attacking highways, and force Black into reactive defense from the outset of the encounter.
At the master level, initiative is the ultimate currency. In tournament practice, dynamic compensation frequently outweighs static material deficits. By relinquishing the c-pawn, White develops three minor pieces before Black can comfortably coordinate a single defensive quadrant.
Strategic Architecture of this Guide
- 1. The Mainline Sacrificial Thrust: 1.e4 c5 2.d4 cxd4 3.c3 dxc3 4.Nxc3
- 2. The Accepted Gambit: Open c and d File Geometry
- 3. Dismantling Classical Sicilian Formations (...d6 and ...e6)
- 4. Thematic Sacrificial Breakouts on d5 and f7
- 5. Punishing the Declined Morra: 3...Nf6 and 3...d3
- 6. Marc Esserman's Dynamic Theoretical Renaissance
- 7. Master Analytical Matrix of Key Variations
- 8. Tactile Calculation: Overcoming 2D Screen Blindness
- 9. Frequently Asked Questions
Smith Morra Gambit Chess Guide: The Mainline Sacrificial Thrust with 1.e4 c5 2.d4 cxd4 3.c3 dxc3 4.Nxc3
The defining moves of the Smith-Morra Gambit establish an immediate ideological clash across the central squares:
1.e4 c5 2.d4 cxd4 3.c3 dxc3 4.Nxc3
With 3.c3, White refuses to spend time recapturing on d4 with the queen, which would expose the monarch's consort to harassment following ...Nc6. When Black accepts the gambit with 3...dxc3, White immediately mobilizes the queenside knight with 4.Nxc3. This lightning development seizes the initiative before Black can coordinate their forces.
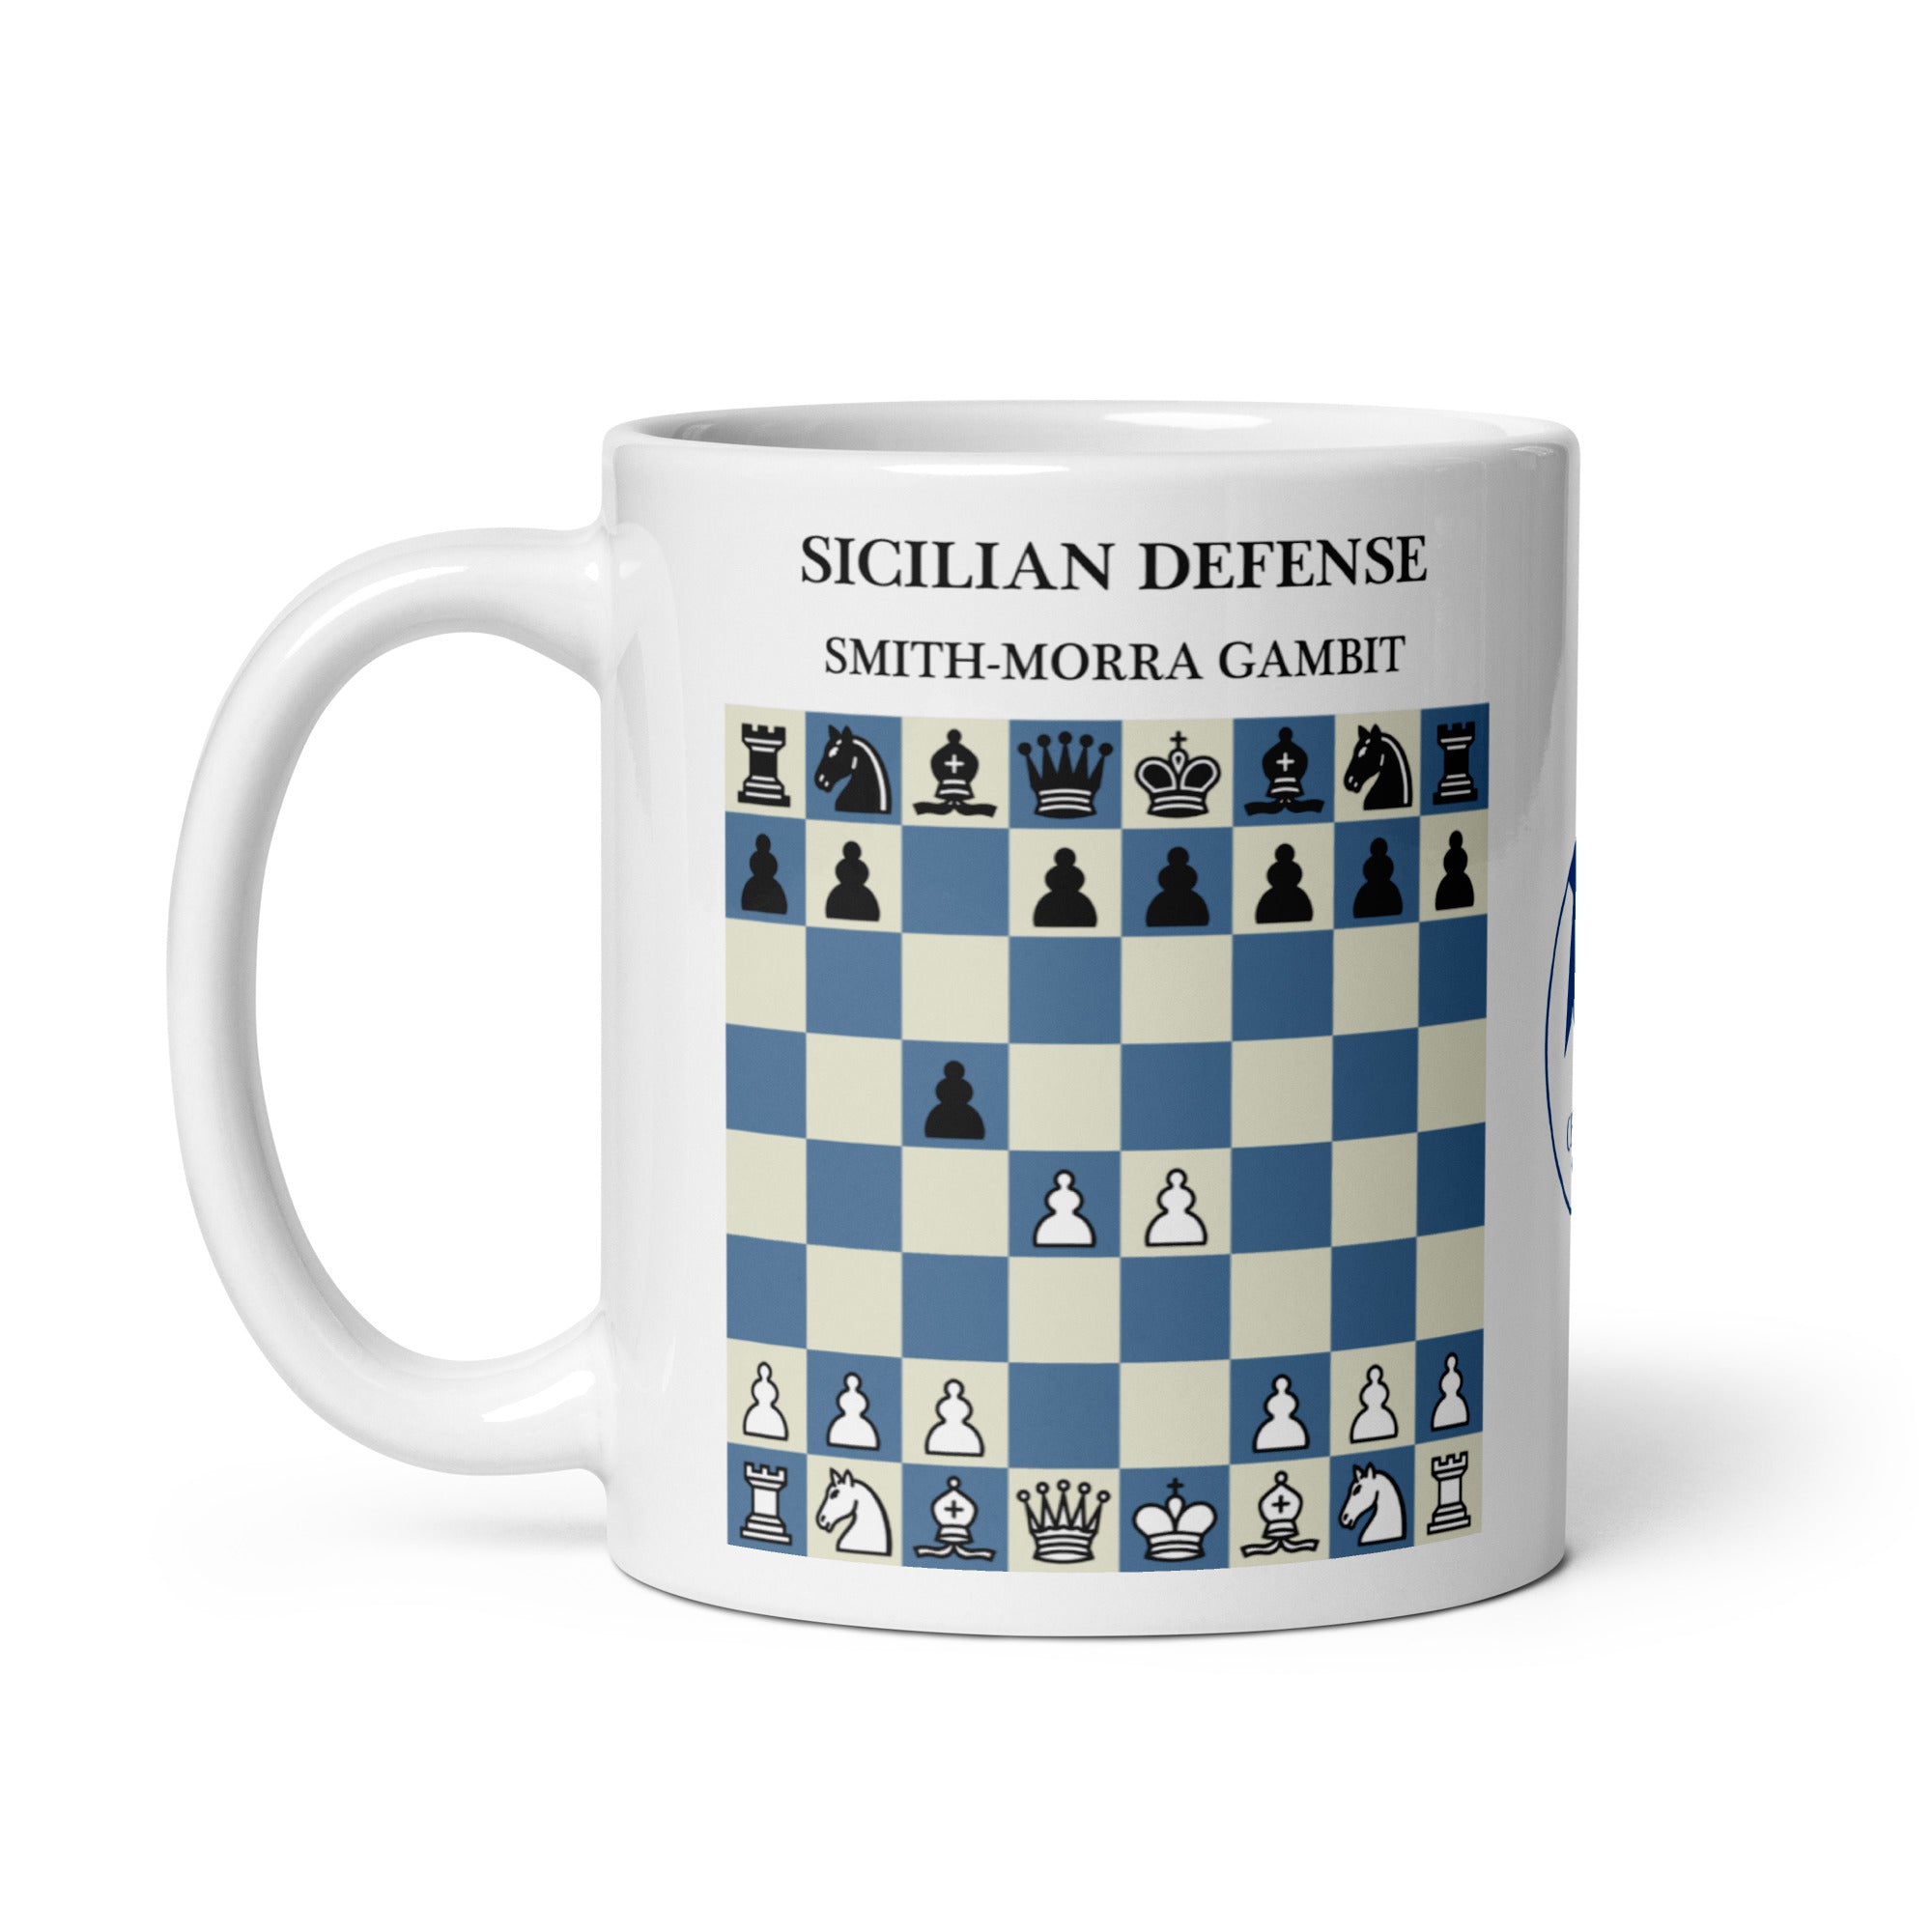
Sicilian Defense Smith Morra Gambit Chess Mug
Anchor your attacking repertoire over your morning coffee with the razor-sharp 1.e4 c5 2.d4 cxd4 3.c3 sacrificial diagram showcased on premium ceramic drinkware.
CLAIM YOUR REPERTOIRE MUG →Cultivating sharp opening recall requires daily theoretical immersion. Beginning your training session with the official Sicilian Defense Smith Morra Gambit Chess Mug transforms routine morning caffeine into a dedicated theoretical ritual, sharpening the predatory attacking instincts required to dismantle passive Sicilian defenses.
The Accepted Gambit: Open c and d File Geometry
When Black accepts the pawn challenge, White recaptures immediately with the queenside knight:
3...dxc3 4.Nxc3
This dynamic recapture is the heartbeat of the gambit. White has surrendered one pawn, but in exchange has achieved three fundamental positional assets:
- Developmental Lead: The knight on c3 controls key central squares (d5 and e4) while White prepares to deploy the light-squared bishop to c4, the king's knight to f3, and castle kingside within four rapid moves.
- Semi-Open C-File: The disappearance of the white c-pawn opens the c-file for White's heavy pieces. Placing a rook on c1 exerts permanent latent pressure against Black's queenside, especially targeting any premature development of the black queen to c7.
- Open D-File: Because Black captured on d4 and White replied with c3, White enjoys a completely unobstructed semi-open d-file. Placing a rook on d1 creates an x-ray pin through Black's central pawns on d6 and d7, severely restraining Black's freedom to break in the center with ...d5.
In tournament hall conditions, this harmonious geometric setup allows White to dictate the rhythm of the middlegame. Black's extra pawn on b7 or d6 remains passive, while White's mobilized army coordinates with singular offensive focus.
Dismantling Classical Sicilian Formations (...d6 and ...e6)
The most resilient grandmaster setup against the Smith-Morra Accepted involves constructing a compact Scheveningen pawn shell with ...d6 and ...e6:
4...Nc6 5.Nf3 d6 6.Bc4 e6 7.O-O Nf6 8.Qe2 a6 9.Rd1 Qc7 10.Bf4
Against this formation, White follows an exact tactical recipe. The bishop on c4 aims directly at the sensitive e6 and f7 coordinates, pinning Black's central structure. The queen on e2 connects the rooks while vacating the d1 square for the king's rook. When White places the rooks on d1 and c1, Black's position experiences severe structural stress.
Notice the placement of the dark-squared bishop on f4. By targeting d6, White exploits the x-ray pressure exerted by the d1-rook. If Black attempts to break free with 10...Be7 11.Rac1 O-O 12.Bb3! Qb8, Black's queen is driven into humiliating passivity on the corner square merely to unpin the c-file.
The Pin Variation and the Siberian Trap
Black players frequently attempt active counter-measures with the Pin Variation: 4...Nc6 5.Nf3 e6 6.Bc4 Nf6 7.O-O Qc7 8.Qe2 Ng4!?. Here, Black threatens ...Nd4, which would remove the defender of h2 and deliver checkmate. Weak players with White panic and play 9.h3??, stumbling directly into the notorious Siberian Trap: 9...Nd4! 10.Nxd4 Qh2#.
However, armed with precise theoretical understanding, White refutes Black's premature attack effortlessly with 9.Rd1!. By controlling the d-file and vacating f1 for the king, White completely neutralizes the mate threat. After 9...Bc5 10.Be3! Nxe3 11.fxe3 a6 12.Rac1, White retains a superior spatial grip, an open f-file, and commanding pressure down the c-file.
Thematic Sacrificial Breakouts on d5 and f7
The true predatory power of the Smith-Morra Gambit emerges when Black delays castling or attempts premature expansion on the flank with ...b5. In these tense positions, White possesses two standard sacrificial battering rams that shatter Black's defenses.
The Dynamic Knight Sacrifice on d5
When evaluating classical Sicilian endgames and sharp middlegames, the d5 outpost represents the epicenter of tactical conflict. In the Smith-Morra, White routinely sacrifices a knight on d5:
Nxb5!? or Nd5! exd5 11.exd5+ Ne7 12.Bf4
By blasting open the e-file, White exposes Black's king on e8 before kingside evacuation can take place. Black's knight on e7 is hopelessly pinned, the rook on d1 dominates the d6 weakness, and White's light-squared bishop infiltrates along c4 and b5. Even engines evaluating millions of nodes confirm that the dynamic flood of attacking pieces yields an overwhelming advantage for White.
The Bishop Sacrifice on f7 and e6
If Black attempts to castle into safety when pieces are uncoordinated, White frequently detonates the kingside barrier with Bxf7+! Kxf7 13.Qc4+ d5 14.Nxd5. Alternatively, when Black's pawn rests on e6, Bxe6! fxe6 14.Qxe6+ tears through the pawn skeleton, hunting the black monarch into the open center where rooks and knights deliver unstoppable mating nets.
Punishing the Declined Morra: 3...Nf6 and 3...d3
Aware of the terrifying tactical storms in the Accepted lines, many pragmatic Sicilian players decline the pawn on move three. However, declining the gambit concedes substantial positional advantages to White.
The Push Defense: 3...d3
With 3...d3, Black returns the pawn voluntarily, hoping to deny White the open c-file and d-file. White answers with clean strategic authority:
4.Bxd3 Nc6 5.Nf3 d6 6.c4!
By pushing 6.c4, White constructs the celebrated Maroczy Bind formation. White's pawns on c4 and e4 clamp down irreversibly on the critical d5 square. Black is deprived of both the ...d5 and ...b5 pawn breaks that constitute the lifeblood of the Sicilian Defense. White develops calmly with Nc3, O-O, h3, and Be3, enjoying a permanent spatial stranglehold.
The Central Counter-Strike: 3...Nf6
If Black challenges White's center immediately with 3...Nf6, White does not hesitate:
4.e5 Nd5 5.cxd4 d6 6.Nf3 Nc6 7.Bc4 e6 8.O-O
The position transposes directly into a highly favorable variation of the Alapin Sicilian (2.c3). White maintains a strong central pawn presence, drives Black's knight on d5 into awkward defensive squares, and dictates the terms of queenside piece development.
Marc Esserman's Dynamic Theoretical Renaissance
For decades, dogmatic theorists dismissed the Smith-Morra Gambit as an unsound club weapon that could be neutralized by accurate grandmaster preparation. That obsolete perspective was decisively overturned by International Master Marc Esserman, author of the seminal treatise Mayhem in the Morra.
Through exhaustive analytical rigor and sensational tournament victories—including defeating world-class Grandmaster Loek van Wely in classical time controls—Esserman proved that the Morra holds up against the deepest computer engine defenses. Esserman established that White's compensation is not transient, but structural. Modern grandmaster analysis relies on subtle waiting moves such as h3 (preventing ...Bg4 pins), repositioning bishops with Bb3, and coordinating heavy pieces to generate sustained, cumulative pressure rather than relying on one-move tactical traps.
Today, neural network engines like Leela Chess Zero and Stockfish confirm that White retains immense dynamic equality and practical attacking chances across all critical lines. The opening serves as a formidable weapon for players seeking uncompromising fighting chess.
Master Analytical Matrix of Key Variations
To navigate the branching complexities of the Smith-Morra Gambit with complete theoretical confidence, review this analytical matrix summarizing ECO classifications, signature sequences, and White's core strategic directives:
| Variation Name | ECO Code | Signature Move Sequence | Strategic Character | White's Core Objective |
|---|---|---|---|---|
| Morra Accepted Mainline | B21 | 1.e4 c5 2.d4 cxd4 3.c3 dxc3 4.Nxc3 Nc6 5.Nf3 d6 6.Bc4 e6 7.O-O | Open tactical warfare, rapid piece lead | Deploy rooks to c1 and d1, target d6, and prepare central Nd5 sacrifices. |
| Classical Scheveningen Setup | B21 | 4...Nc6 5.Nf3 e6 6.Bc4 d6 7.O-O Nf6 8.Qe2 Be7 9.Rd1 e5 | Central pawn blockage, dark-square battles | Anchor the d5 hole, pressure the backward d6 pawn, and utilize Bg5 pins. |
| Pin Variation Defense | B21 | 4...Nc6 5.Nf3 e6 6.Bc4 Nf6 7.O-O Qc7 8.Qe2 Ng4 9.Rd1! | Sharp counter-attacking tactics | Neutralize the Siberian Trap with 9.Rd1!, trade knights on e3, and dominate the c-file. |
| Push Defense Declined | B21 | 3...d3 4.Bxd3 Nc6 5.Nf3 d6 6.c4! | Positional clamp, space domination | Establish the Maroczy Bind on d5, suppress Black's counterplay, and expand queenside. |
| Alapin Transposition Declined | B21 | 3...Nf6 4.e5 Nd5 5.cxd4 d6 6.Nf3 Nc6 7.Bc4 | Classical central tension | Maintain central pawn duo, restrict the d5-knight, and control kingside diagonals. |
Tactile Calculation: Overcoming 2D Screen Blindness
Studying dynamic sacrificial openings like the Smith-Morra exclusively on digital screens fosters a severe analytical handicap known as 2D screen blindness. On flat pixels, long-range rook batteries down the c-file and d-file, subtle bishop cutoffs on a2-g8, and the terrifying spatial pressure of a centralized knight fail to register with authentic depth. In tournament hall conditions, calculating multi-piece sacrifices requires spatial memory honed through physical touch.
Moving weighted wooden pieces across competition hardwood engages fine motor skills and calms analytical adrenaline under intense time pressure. Analyzing the sharp variations detailed throughout this smith morra gambit chess guide on authentic physical tournament hardware bridges the dangerous divide between digital study and over-the-board tournament triumph.
Exploring how the Morra compares with alternative Sicilian structures in our Sicilian Najdorf master guide, the double-edged sharp lines in the Sicilian Dragon defense guide, or solid counter-strikes in the French Defense master analysis expands your dynamic strategic repertoire across all competitive formats.
Frequently Asked Questions
Is the Smith-Morra Gambit sound at master level?
Yes. Modern analytical discoveries and high-level grandmaster games demonstrate that White receives complete positional and dynamic compensation for the sacrificed pawn. The open c-file and d-file, coupled with rapid development of knights and bishops, generate durable initiative that neutral engines evaluate as dynamically equal.
What is the most critical mistake Black makes in the Smith-Morra?
Black's most frequent downfall is greediness accompanied by delayed castling. Attempting to preserve the extra pawn with passive moves like ...a6 and ...b5 before securing the king allows White to strike with crushing thematic sacrifices on d5 or f7, tearing open the central files and catching the black king stranded in the center.
How should White respond if Black declines the gambit with 3...Nf6?
When Black replies with 3...Nf6, White pushes 4.e5 Nd5 5.cxd4, transposing smoothly into the Alapin Sicilian. White gains superior central spatial control, drives Black's knight into defensive maneuvering, and maintains a stable developmental lead.
Why is this smith morra gambit chess guide superior to traditional Sicilian theory?
Traditional Open Sicilian lines demand memorizing dozens of complex opening variations. By mastering this smith morra gambit chess guide, White imposes a unified attacking system on move three, steering the game into familiar open-file territory where dynamic tactical comprehension consistently triumphs over memorized book variations.
Keep Your Repertoire in Sight
41 ceramic mugs printed to order, each with the name and diagram of a classic opening.