The 5 Essential Checkmate Patterns Every Chess Player Must Know
You have played a brilliant game. You outsmarted your opponent in the opening, won a piece in the middlegame, and now you have a massive advantage. But as the clock ticks down, you start aimlessly pushing pieces around the board. Suddenly, the game ends in a draw by stalemate. You let a guaranteed win slip away.
Failing to convert a winning position is one of the most frustrating experiences in chess. Grandmasters do not calculate checkmates from scratch every single game; they rely on internalized geometric patterns. Once you learn these patterns, you will spot them instantly. In this guide, we break down the five absolute must-know checkmate patterns that will instantly increase your win rate.
♟️ Quick Answer: What are the most common checkmates?
The most common and essential checkmate patterns are the Ladder Mate (using two Rooks or a Queen and Rook to push the King to the edge), the Back-Rank Mate (trapping the King behind its own pawns), the Kiss of Death (the Queen checking the King up close while protected by another piece), and the Smothered Mate (a Knight checkmating a King trapped by its own pieces).
1. The Ladder Mate (The Beginner's First Weapon)
This is the very first checkmate pattern every chess player should learn. It is used in the endgame when you have two Rooks (or a Queen and a Rook) against a lone King.
How it works: You use your two major pieces like feet climbing a ladder. One Rook controls a rank (creating a wall the King cannot cross), and the other Rook moves to the next rank to deliver a check, forcing the King backward. You repeat this "walking" process until the King is pushed to the very edge of the board and has nowhere left to run.
2. The Back-Rank Mate (The Ultimate Punisher)
This pattern is responsible for millions of sudden victories at the club level. It usually happens in the middlegame after players have castled.
How it works: When a King is castled, it usually has three pawns directly in front of it (on f2, g2, and h2 for White). While these pawns provide a great shield, they also trap the King on the back rank. If you manage to bring a Rook or a Queen all the way down to the 8th rank, and the opponent has not created a "luft" (an escape square by pushing a pawn), the King is checkmated behind its own wall.
3. The Kiss of Death (Queen and Helper)
The Queen is the most powerful piece, but she cannot deliver checkmate completely alone. She always needs a "helper" piece to execute the Kiss of Death.
How it works: The Queen is placed directly adjacent to the enemy King (touching it). This cuts off all escape squares. However, for it to be a checkmate and not just a blunder, the Queen must be defended by another piece—a Bishop, a Knight, a Rook, or even a pawn. The enemy King cannot capture the Queen because Kings cannot step into check.
4. The Smothered Mate (The Knight's Glory)
This is arguably the most beautiful and deeply satisfying checkmate in the entire game. It is a rare pattern that highlights the unique jumping ability of the Knight.
How it works: The enemy King is completely surrounded (smothered) by its own pieces—usually its own pawns and Rooks in the corner of the board. Because it has zero escape squares, a single check from a Knight jumping over the defenses is instant checkmate. The most famous execution involves a brilliant Queen sacrifice to force the opponent's Rook to trap their own King.
5. The Arabian Mate (Rook and Knight Synergy)
Dating back to the 8th century, this is one of the oldest known checkmate patterns. It demonstrates the perfect coordination between a Rook and a Knight in the corner of the board.
How it works: The opponent's King is pushed to the corner square (e.g., h8). Your Knight sits on f6, defending the h7 square and blocking the King's escape on g8. Your Rook then slides down to h7 to deliver the final check. The Knight perfectly defends the Rook, and the King has nowhere to go.
6. How to Burn These Patterns into Your Brain
Reading about these patterns is not enough. Under time pressure, you will not have 5 minutes to think, "Wait, is this an Arabian mate?" Your eyes must recognize the geometry instantly.
Master Board Geometry
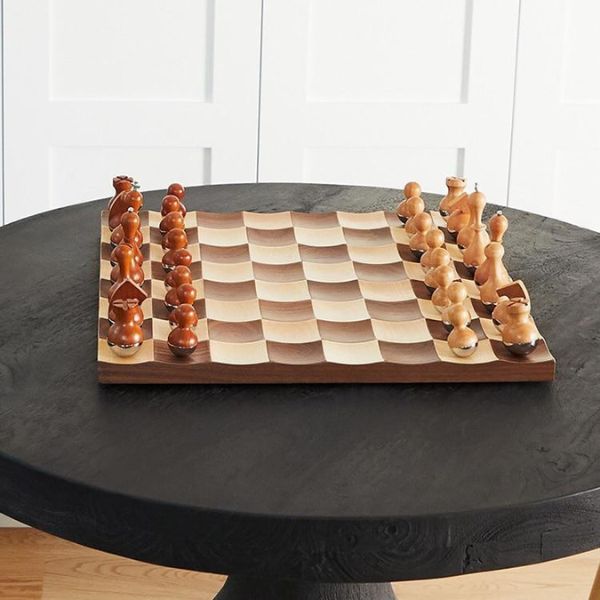
The secret to instant pattern recognition is 3D visualization. Set up these five checkmate structures on our Luxury Wooden Chess Board. Practicing on a physical board engages your spatial memory much faster than clicking through digital puzzles.

By repeatedly executing the physical moves with our Luxury Wooden Chess Pieces, your hand will naturally know how to deliver the "Kiss of Death" before you even consciously calculate it.
BUILD YOUR TACTICAL VISION7. Frequently Asked Questions (FAQ)
Stalemate happens when it is a player's turn to move, their King is NOT in check, but they have absolutely no legal moves left on the board. A stalemate immediately ends the game in a draw, even if one player has a massive material advantage.
The easiest way to avoid stalemate is to make sure every single move you play is a check. If the King is in check, it cannot be a stalemate. If you cannot check, double-check that the enemy King has at least one square it can legally step to before making your move.
No. Against a lone King, it is mathematically impossible to force a checkmate with only a King and two Knights. However, a King, a Bishop, and a Knight can force a checkmate, though it is one of the hardest endgames to master.